Say goodbye to traditional pencil and paper and unlock the wonders of dry-erase markers in your classroom! When you incorporate dry-erase, you’re saving the environment one doodle at a time. Plus, you’re unleashing student confidence and risk-taking with the freedom to erase and reimagine. Dry-erase also makes for super easy cleanup! With all of these awesome benefits, you may be wondering how to use dry-erase markers in the art room for more than writing vocabulary words on the board.
Keep reading for budget-friendly dry-erase hacks. Then, discover how dry-erase markers are a game-changer for interactive learning!

Let’s uncover dry-erase hacks to keep you within budget.
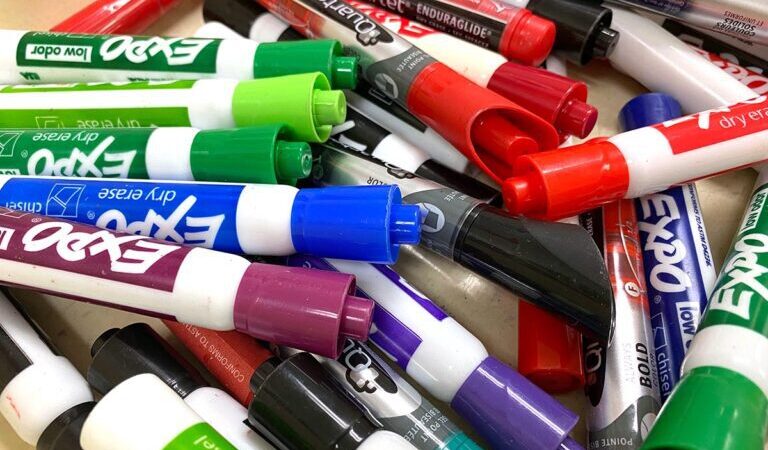
Whiteboards and brand-name dry-erase markers can get pricey fast. Getting budget-friendly materials for your art room is easier than you may think. Add them to your running supply wishlist now so you don’t forget to add them to next year’s order. Reach out to your secretarial staff to see if there are extra office supplies you can have. Chat with your PTA or PTO and network with parents and local businesses for donations. Apply for a grant, fundraise, or host a competition to see which class can bring the most dry-erase markers. There are many avenues you can pursue!
Art teachers are crafty! Here are some ways to DIY your own dry-erase supplies:
- Cut up t-shirts for cleaning cloth erasers.
- Cut up felt or fabric scraps and hot glue to wood blocks for erasers.
- Hot glue pompoms to the end of dry-erase marker caps to create individual erasers.
- Use hand sanitizer, rubbing alcohol, vinegar, or even WD-40 for a cleaner that really works.
You may be wondering if you can DIY dry-erase surfaces. Of course you can! Here are some ideas:
- Laminate cardstock for portable dry-erase “boards,” perfect for individual desk use.
- Attach acetate sheets or old transparency sheets to clipboards for convenient personal whiteboards on the go.
- Insert blank paper or worksheets into heavy-duty page protectors or clear document holders.
- Transform an entire wall or tabletop with specialized dry-erase paint.
- Apply clear or white contact paper to a flat surface, like in the video below!
Here are several ways to incorporate dry-erase activities into the art room to enhance learning!
Now that you know how to make your own dry-erase tools and surfaces, let’s look at ways you can incorporate them into your classroom and curriculum with some amazing activities. Dry-erase markers offer a world of possibilities to enhance creativity, interactivity, and engagement.